automation
tutorial
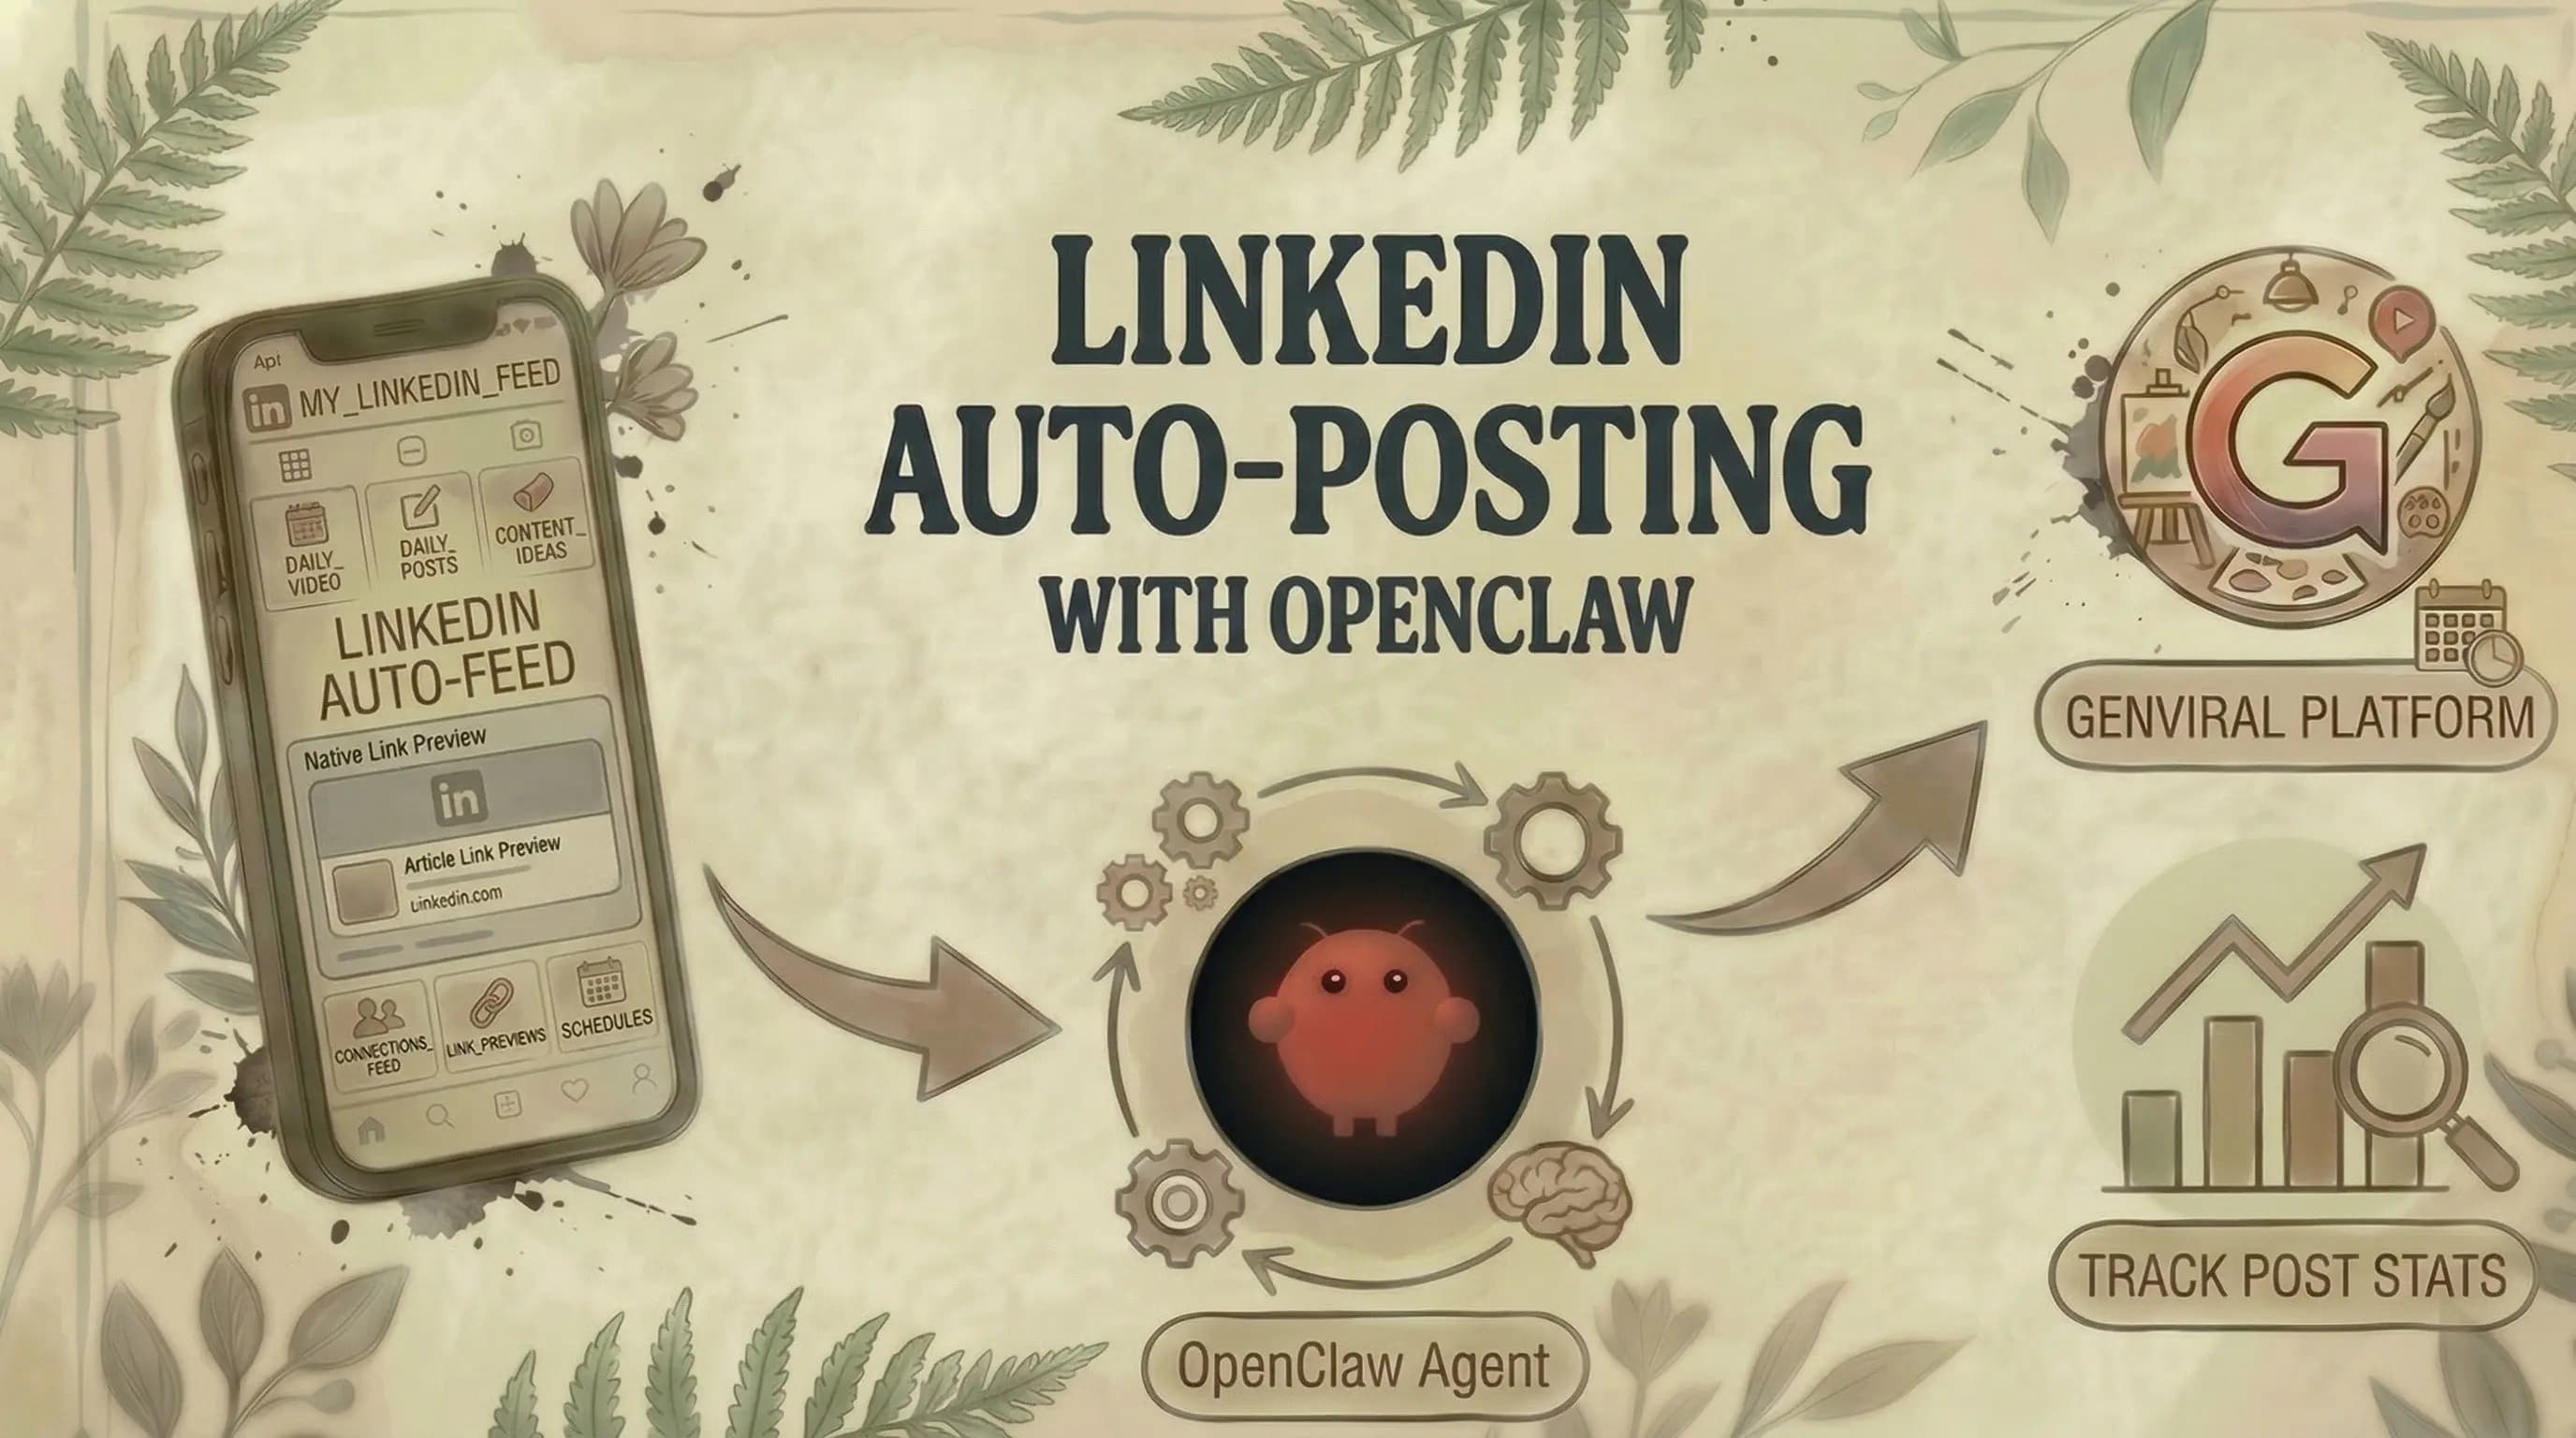
How to Automate LinkedIn Posting with OpenClaw
- Your OpenClaw agent can create and publish LinkedIn posts on your behalf without you ever logging into LinkedIn.
- Setup requires three things: the Genviral Skill GitHub repo, the API documentation, and an API key.
- Split your skill MD files by endpoint category (posts, studio AI, analytics, etc.) so your agent only loads what it needs per run - this saves a lot of tokens.
- Connect your personal LinkedIn account in the Genviral dashboard first. Company pages are not yet supported - only personal profiles.
- Walk through the setup step by step with your agent rather than trying to configure everything in one prompt.
Why LinkedIn
LinkedIn is where professional audiences live. Whether you're building a personal brand, sharing thought leadership, or promoting your product, consistent posting is what drives visibility. But logging in every day, writing posts, and hitting publish is a grind - especially if you're already managing content on TikTok, Instagram, YouTube, Pinterest, and Facebook.
An OpenClaw agent connected to Genviral handles this for you. It can write text posts, create carousels using the Studio AI endpoint, and publish directly to your LinkedIn profile - all without you opening LinkedIn once.
What You Need
Three things to feed your OpenClaw agent:
- The GitHub repo - github.com/fdarkaou/genviral-skill (also linked in the Genviral homepage footer)
- The API documentation - docs.genviral.io
- An API key - generate one at genviral.io/api-keys (requires an active subscription)
You can feed all three to your agent in a single message. It works with any chatbot that supports OpenClaw: Telegram, WhatsApp, or whatever you prefer.
Step 1: Organize Your Skill Files
This is the single biggest token saver. When you set up the Genviral skill, create separate MD files for each endpoint category:
genviral-skill/
├── files/
├── folders/
├── studio-ai/
├── posts/
├── slideshows/
├── packs/
├── templates/
└── analytics/
Why does this matter? If you tell your agent to create a LinkedIn post, it will scan the entire API documentation every time unless you split things up. That burns through tokens fast. For most LinkedIn workflows, you only need the Posts endpoint. If you're creating carousels or images with AI, add Studio AI. If you want to analyze performance, add Analytics. That's it - skip the rest.
Step 2: Connect Your LinkedIn Account in Genviral
Before your agent can post anything, you need to connect your LinkedIn account in the Genviral dashboard.
- Go to the Social Posts section
- Click Manage Accounts
- Click Connect and add your LinkedIn account
- Create a test post manually to verify the connection works
Important: Genviral supports both personal LinkedIn profiles and LinkedIn public pages. If your agent needs to post to a brand presence, you can use a connected public page instead of limiting the workflow to personal profiles.
Once connected, your OpenClaw agent can reference the account by ID when creating posts through the API.
Step 3: Let Your Agent Familiarize Itself
If you already have other automations running (like we have for Pinterest, TikTok, Instagram, Facebook, and YouTube), tell your agent to familiarize itself with your existing setup first. This way it understands your content style, posting patterns, and how things are structured before building the LinkedIn flow.
If this is your first automation, just feed the agent the skill files, the API docs, and your API key, then tell it to set up the Genviral skill and configure the LinkedIn automation.
Step 4: Walk Through the Setup Step by Step
This is a general best practice with AI agents, but especially important here. Instead of trying to configure everything in one prompt, tell your agent:
"I want to post to LinkedIn automatically. Please ask me step-by-step questions about each part of the setup."
The agent will then ask you about:
- Account selection - which LinkedIn profile to post to
- Content type - text posts, carousels, image posts, or a mix
- Content source - writing original content, repurposing from other platforms, or generating with AI
- Tone and style - professional, casual, storytelling, data-driven
- Scheduling - how often, what days and times
- Approval flow - publish directly or review each post first
Answer each question, and the agent configures itself accordingly.
Step 5: Review a Sample Post
Before going autonomous, have the agent create at least one sample post in chat so you can review it.
Check:
- Does the tone match your LinkedIn voice?
- Is the post length appropriate? (LinkedIn rewards longer, thoughtful posts)
- Are hashtags relevant and not overdone?
- If it's a carousel, do the slides flow well and look clean?
If something looks off, tell the agent what to fix. Once you're satisfied, test the full end-to-end flow by publishing one real post through the agent.
Step 6: Test the End-to-End Flow
Before setting up the cron job, publish one post through the agent to test the full pipeline:
- Agent writes or generates the post content
- Agent creates the post with text, images, or carousel
- Post is published to LinkedIn via the Posts endpoint
- Post appears in your Genviral dashboard calendar tagged with
source: partner_api
If the post goes through successfully and looks good on LinkedIn, you're ready to automate.
Step 7: Set Up the Cron Job
Once everything checks out, configure your agent to run on a schedule. The agent will:
- Generate or source the content
- Write the post copy, format it for LinkedIn
- Publish to LinkedIn via the Posts endpoint
- Repeat on your chosen schedule
Every automated post shows up in your Genviral dashboard calendar, so you always have a full audit trail of what was posted and when.
Content Ideas for LinkedIn Automation
LinkedIn rewards specific types of content. Here are some workflows that work well with an OpenClaw agent:
- Text posts with insights - Your agent can write daily posts based on topics or themes you define. Great for thought leadership.
- Carousels - Use the Studio AI endpoint to generate carousel slides. LinkedIn's algorithm heavily favors carousels for engagement.
- Repurposed content - If you're already creating content for other platforms, your agent can adapt it for LinkedIn's professional tone.
- Data-driven posts - Feed your agent analytics data and have it create posts highlighting trends, learnings, or results.
Personal Profiles vs. Public Pages
The LinkedIn integration supports personal profiles and LinkedIn public pages. That means you can run personal-brand posting, company visibility, and brand publishing from the same Genviral workflow.
For most use cases, personal profiles still drive the strongest reach. Public pages are there when you also need a dedicated brand presence or want your agent to publish directly to a company-facing account.
Tips From Our Setup
A few things we've learned:
- Split your skill files. This keeps coming up because it matters that much. Don't load the entire API docs every run. Only give the agent the endpoints it actually needs.
- Use step-by-step confirmation. Have the agent ask you about each part of the setup individually. Don't try to configure everything in one prompt.
- Optimize for LinkedIn's format. LinkedIn posts that perform well tend to be longer, use line breaks for readability, and tell a story or share a specific insight. Tell your agent to write in that style.
- Set up Telegram notifications. We use Telegram to get confirmations about every automated post. It's a quick way to monitor without logging into anything.
- Start with text posts. They're the simplest to get right and don't require any image generation. Once your workflow is solid, add carousels and images.
- Review weekly. Even fully automated, check in once a week. Skim the dashboard, spot-check a few posts, and adjust if needed.
Getting Started
Full disclosure - I'm one of the founders of Genviral, so I'm biased. But we built this because our customers kept asking for LinkedIn support, and it's now one of the fastest-growing use cases for the API.
To get started:
- Sign up at genviral.io
- Connect your LinkedIn account under Social Posts
- Generate an API key at genviral.io/api-keys
- Install the Genviral Skill in OpenClaw
- Feed it the API docs
- Walk through the setup step by step
- Validate, then automate
The Genviral API and OpenClaw Skill are available on all paid plans, starting at $29/month on the Creator tier.
If you have any questions, drop them in the comments on the video or reach out through our support chat on the homepage. We're also happy to hop on a call to help set this up - that offer stands for every Genviral customer.
Related Guides
- How to Use OpenClaw to Automate Your Social Media (Full Guide)
- 15 Best OpenClaw Skills for Social Media Marketing
- How to Automate Facebook Posting with OpenClaw and Genviral
- How to Automate Instagram Posting with OpenClaw and Genviral
- How to Automate TikTok Posting with OpenClaw and Genviral
- How to Automate Pinterest Posting with OpenClaw and Genviral
- How to Automate YouTube Posting with OpenClaw and Genviral

Fekri
Builder, founder, father